Designing a Fitout Around the First and Last Five Minutes of Every Job
Sep 3, 2026
For a field technician, the workday is not only shaped by what happens while completing a repair, inspection or installation. It is also shaped by the few minutes immediately before and after each job.
When a technician arrives on site, they need to park, identify what is required, retrieve the right tools and parts, and begin work. When the job is finished, everything needs to be returned, waste secured and the vehicle prepared for the next call.
These short, repeated activities can have a significant influence on how smoothly the day runs. Yet they are easily overlooked when specifying a vehicle fitout. Attention is often given to how much equipment the vehicle can carry, rather than how that equipment will be accessed and returned throughout the day.
A productive fitout should support the complete service call, including its first and last five minutes.
Start with the technician’s arrival
The first question is not simply, “Where will everything fit?” It is, “What does the technician need to do when they arrive?”
The answer will vary between roles. One technician may begin almost every job by retrieving a diagnostic case and a small selection of hand tools. Another may need traffic-control equipment, a ladder or a set of frequently used parts. A third may need to prepare paperwork or access a laptop before leaving the cab.
The items used at the beginning of most jobs should generally be placed where they can be reached quickly and predictably. If accessing them requires moving several cases, climbing into the vehicle or opening multiple compartments, the layout may be creating unnecessary effort at every stop.
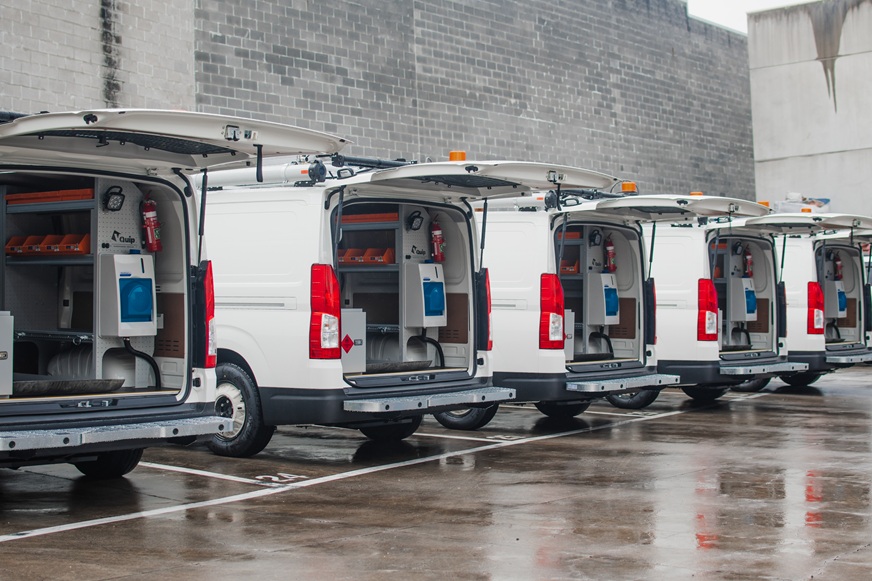
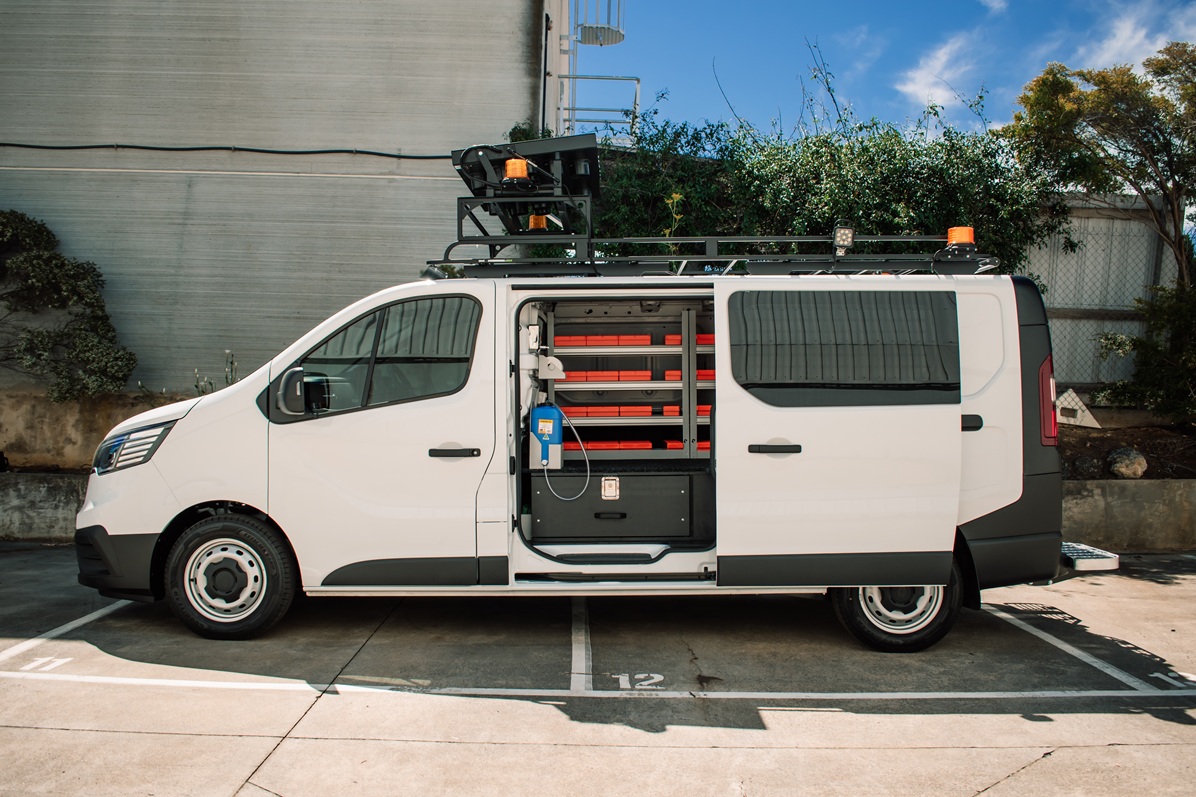
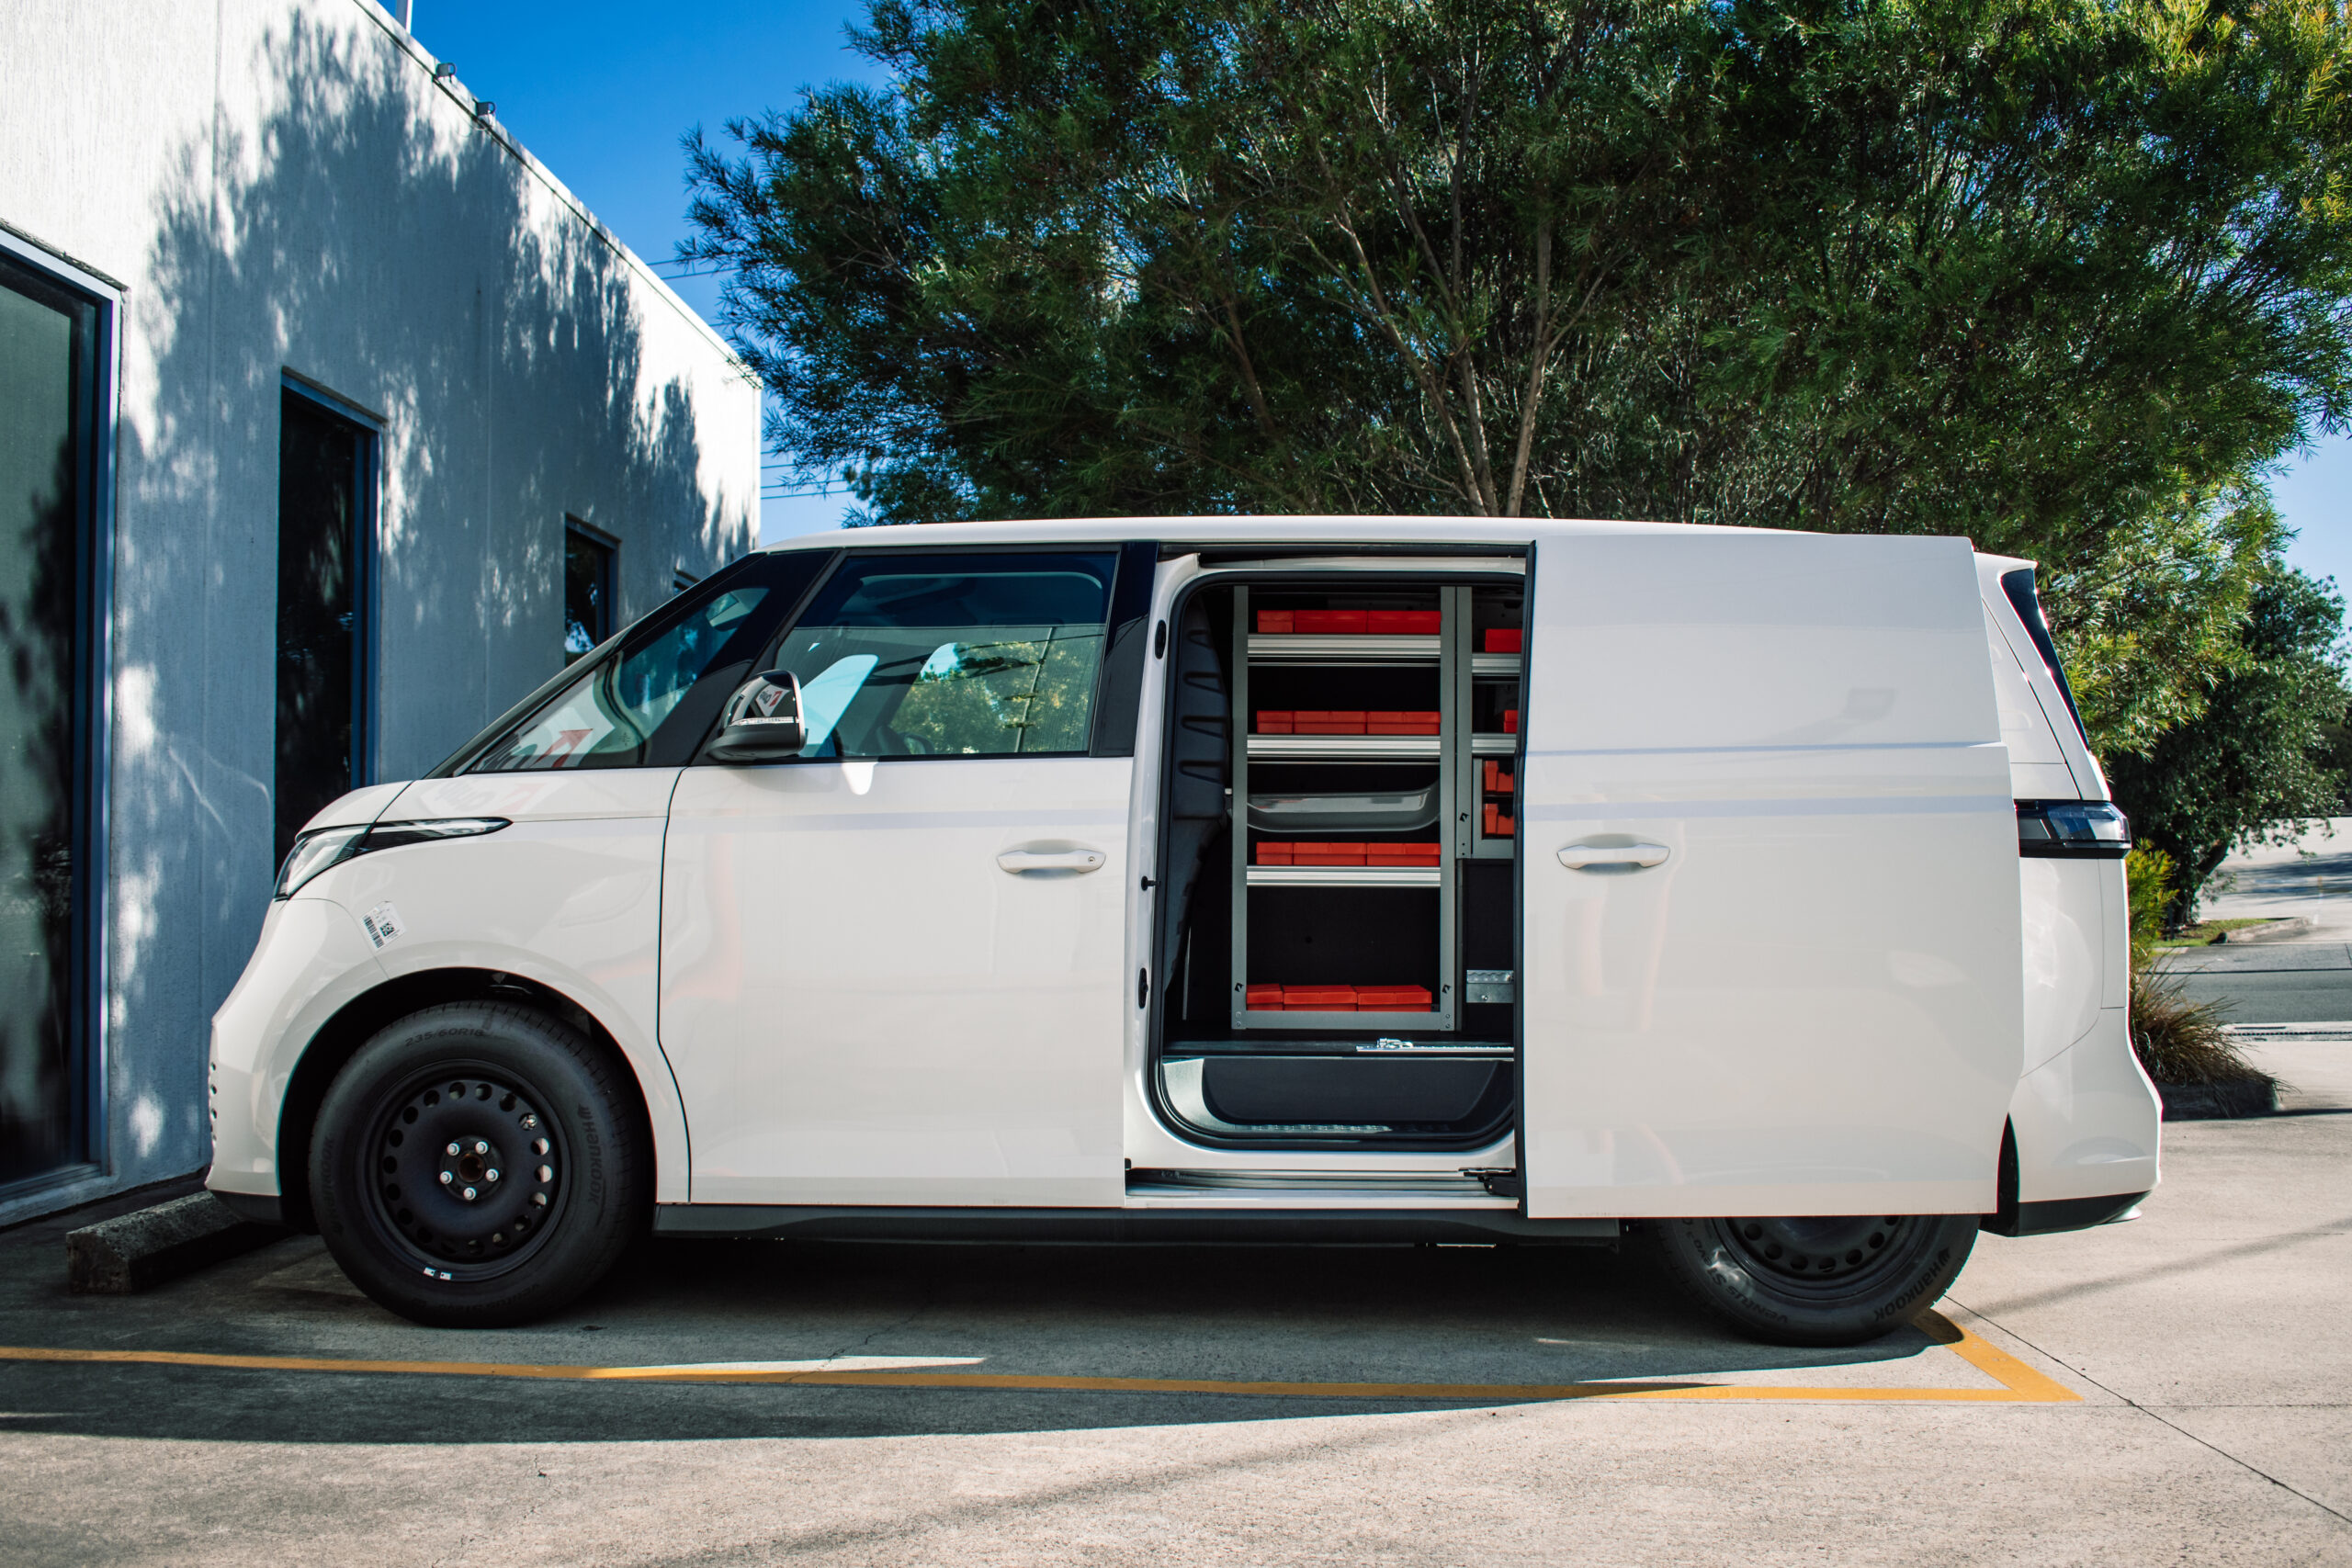
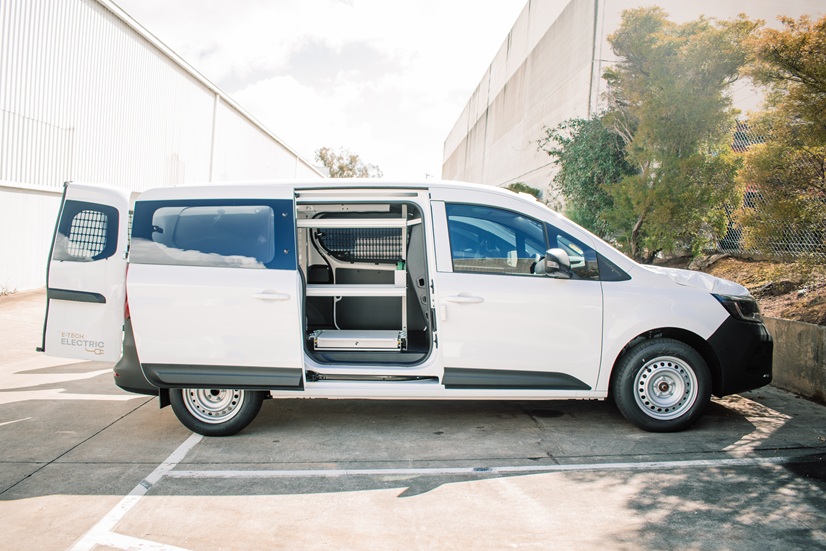
The ideal access point also matters. Depending on the technician’s work and typical parking conditions, frequently used equipment may be better positioned near the kerb-side sliding door, the rear doors or an external compartment. Designing around the real arrival sequence helps determine which location makes sense.
Organise equipment by workflow, not just category
It can be tempting to organise a fitout entirely by equipment type: tools in one area, parts in another and consumables somewhere else. This may look orderly, but it does not always reflect how technicians actually work.
In many cases, it is more useful to group items according to when and how they are used. Equipment required at almost every job should be the easiest to access. Items used together should be stored near one another. Bulky or infrequently used equipment can occupy less convenient positions, provided it remains safe and accessible when required.
For example, if a technician routinely takes the same tool case, testing equipment and consumables into a site, spreading those items across three different areas of the vehicle creates extra movement. Bringing them together around one access point can make the start of the job more straightforward.
This is where technician input becomes particularly valuable. An equipment list tells the designer what must be carried. A discussion with the technician reveals the sequence in which it is used.
Make the correct item easy to identify
Fast access depends on more than location. The technician must also be able to identify the required item without searching through multiple containers or shelves.
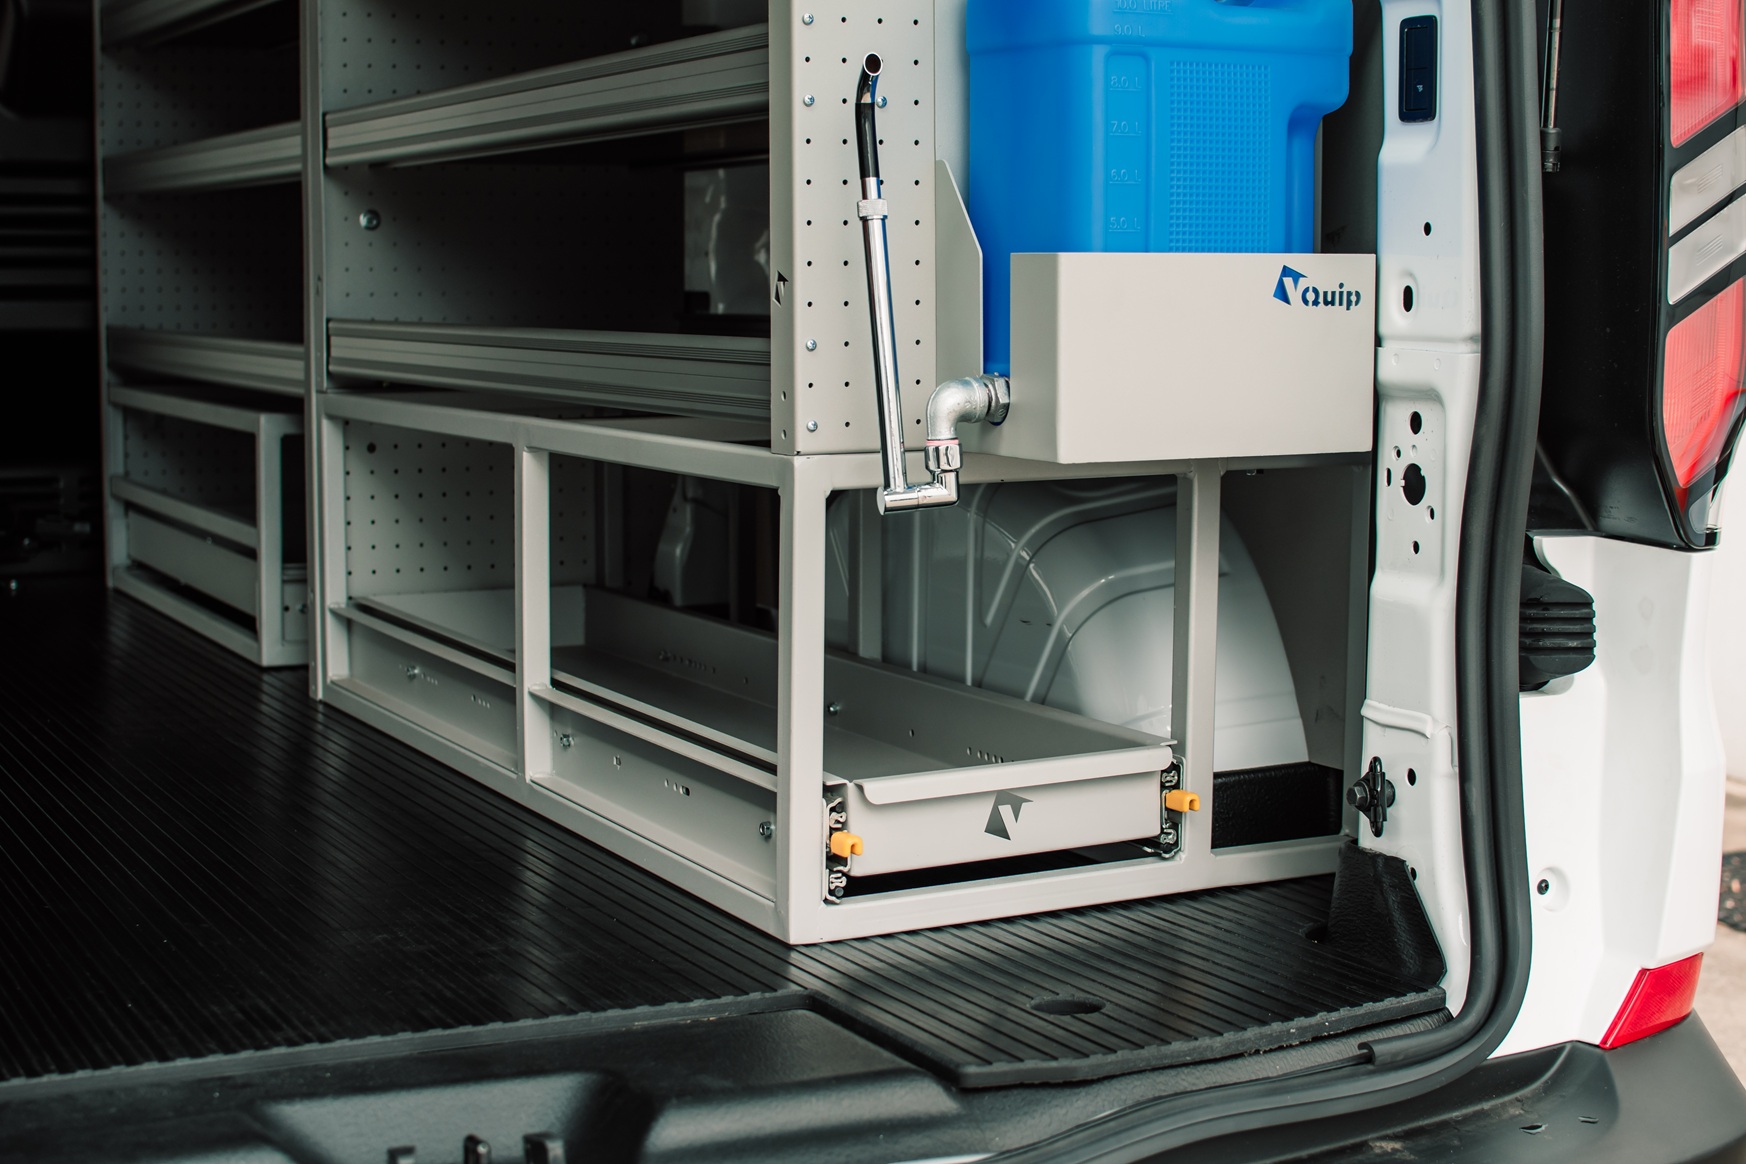
Parts bins, divided drawers, labelled locations and dedicated holders can make common items easier to find. Transparent or open-front storage may suit some consumables, while valuable tools or sensitive equipment may require secure, enclosed storage.
The aim is not to make every vehicle look perfectly tidy. It is to give frequently used equipment a clear and logical home. When storage locations are consistent across similar vehicles, technicians can also move between vehicles with less relearning, while still allowing variations for different operational roles.
Consider what happens when the job is finished
The final minutes of a service call deserve the same attention as the first.
At this point, the technician may be returning tools, separating used and unused parts, securing waste, storing damaged components or placing rechargeable equipment back on charge. If the vehicle does not provide suitable locations for these activities, temporary workarounds can quickly become normal practice.
Tools may be left loose because their storage position is difficult to reach. Waste may share space with clean stock. Returned or faulty parts may be placed wherever room is available. Over time, these habits can make the vehicle harder to use and complicate restocking.
A considered layout can provide clear destinations for each part of the pack-up process. This might include:
- Dedicated tool and carry-case locations.
- A separate area for waste, returned components or dirty equipment.
- Accessible charging points for batteries and electronic equipment.
- Storage that allows the technician to see when consumables need replenishing.
- Restraints or compartments that make it easy to secure equipment before driving away.
The easier the reset process is, the more likely the vehicle is to remain ready for the next job.
Design for repetition
An awkward action performed once may seem insignificant. The same action repeated at every service call is a design issue worth examining.
This could be a technician repeatedly bending into a deep shelf, moving one case to reach another, walking around the vehicle unnecessarily or placing equipment on the ground while searching for a part. None of these behaviours alone proves that a fitout is unsuitable, but repeated friction can reveal opportunities for improvement.
During the discovery and prototype stages, it is useful to observe or map a typical service call:
- Where does the technician park and which vehicle door can they safely use?
- What do they retrieve first?
- Which tools, parts and consumables are usually taken together?
- What returns to the vehicle at the end of the job?
- What needs to be secured, charged, disposed of or replenished?
This simple exercise can uncover requirements that may not appear on a conventional equipment list.
Test the workflow before a wider rollout
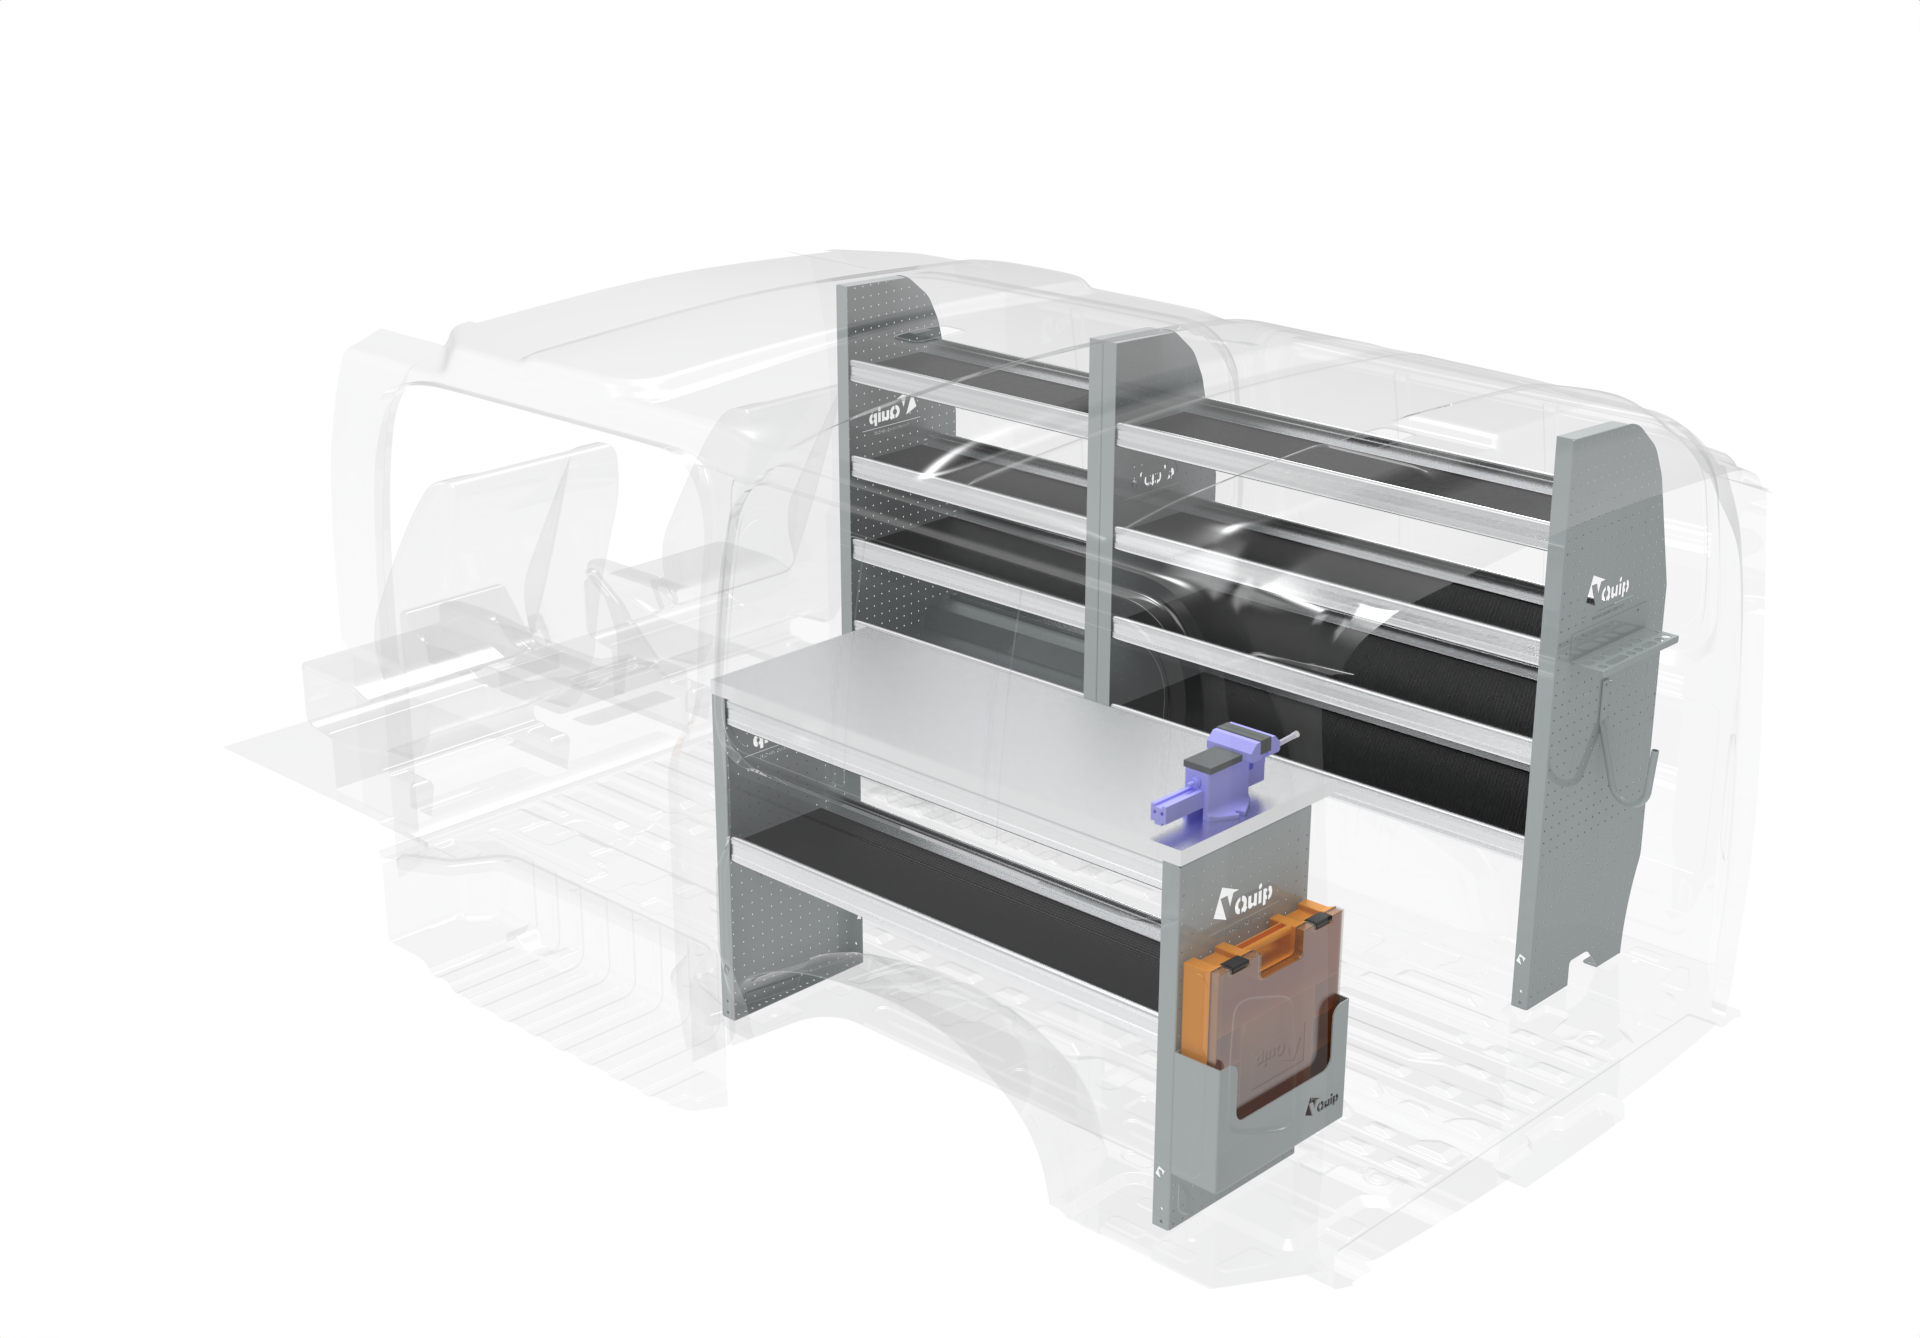
A concept design can show how the proposed storage system fits within the vehicle. A prototype then provides an opportunity to test whether the arrangement works in practice.
Rather than assessing the prototype only on appearance and storage capacity, fleet teams can ask technicians to simulate the beginning and end of a typical job. Can they retrieve common equipment without unloading unrelated items? Are heavy cases positioned appropriately? Can tools be returned easily? Is there a clear place for waste and replenishment stock?
Feedback gathered at this stage can inform sensible adjustments before the layout is repeated across a larger fleet.
Look beyond how much the vehicle can hold
A service vehicle is not simply a container for tools and parts. It is a working environment that technicians may interact with many times throughout the day.
Designing around the first and last five minutes of every job shifts the focus from storage capacity alone to access, sequence and reset. The result is a fitout that better reflects how the vehicle will actually be used.
When planning your next service vehicle, map the technician’s complete workflow before finalising the layout. VQuip can help translate that workflow into a practical fitout design, from initial concept and prototyping through to production and fleet rollout.